![]() Paint the Shark
Paint the Shark
![]()
![]()
![]()
![]()
![]()
![]()
![]()
![]()
![]()
|
|
|
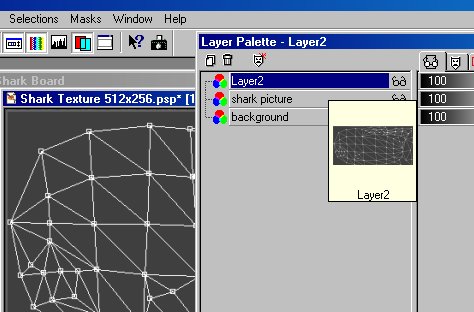
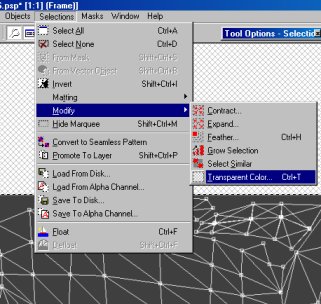
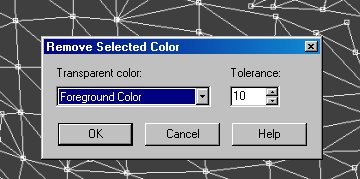
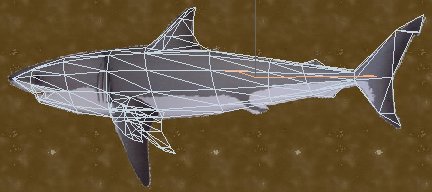
We now go back to Paint Shop Pro and open the Shark_Texture_512_256.psp image file we created earlier. Paste the texture frame Shark_Frame_512_256.jpg from last chapter as a layer into this image file. Rename this new layer to "Shark Frame". Now want to remove the annoying background color from the mesh. Use the Dropper tool to choose the dark background color as foreground color of the paintbrush tool. Select the entire image using the Selection tool. Then use Selection | Modify | Transparent Color to select "foreground". Use Selection | Invert to actually select area covered by this color. Then hit the delete key to remove it. The background is now transparent and you can see through it.
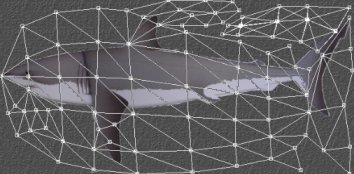
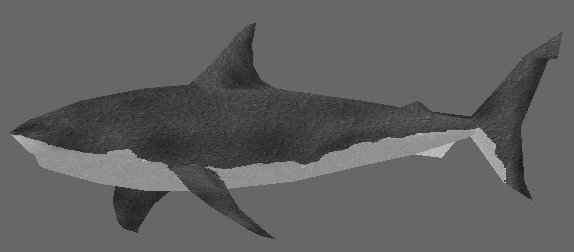
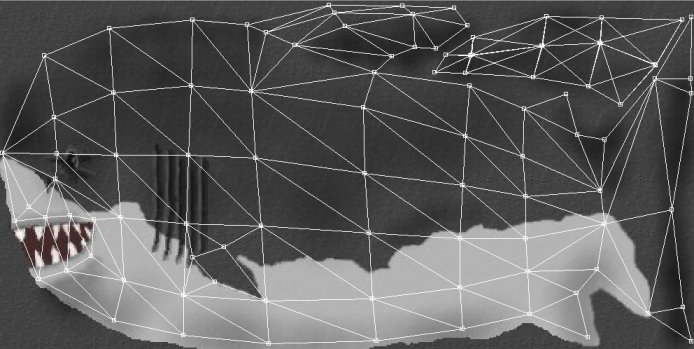
If you compare the psp file against the side viewport of the shark in gmax, you will clearly see how you need to paint a stretched shark to match the stretched polygons. Create a new layer in the psp image and name it 'Painted'. We will use this layer to paint the shark skin.
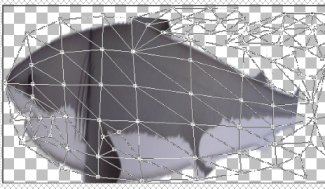
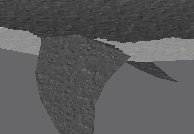
For a preview of the stretched shark, clone the shark picture layer. For clarity, toggle the visibility buttons in the Layer Palette, so that only the mesh and the cloned layer are visible. In the cloned layer, cut off all fins, use the Deformation tool to stretch the shark vertically, and finally rotate it clockwise a bit. Temporarily disable the mesh layer, so that only the shark skin shows. Save this image as jpeg (override the previous jpeg file we created in earlier chapter). Go back to gmax, and reload this texture file. Now the texture looks a bit more convincing.
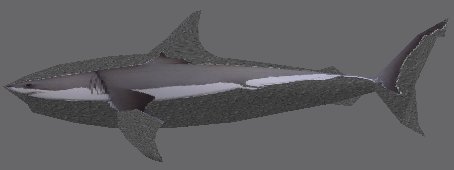
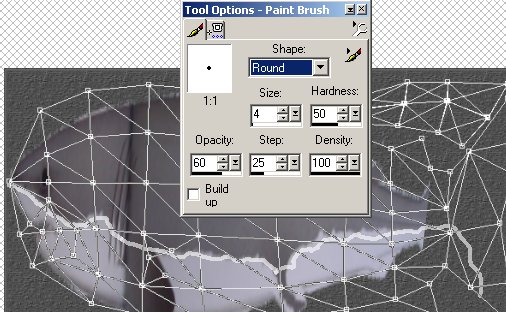
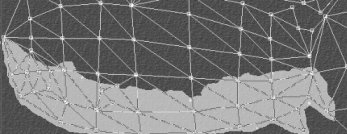
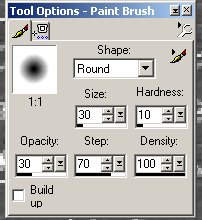
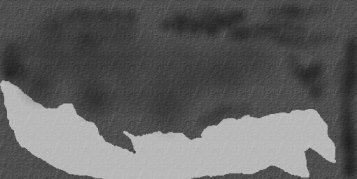
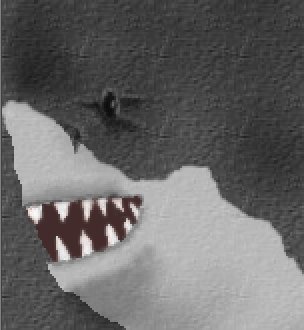
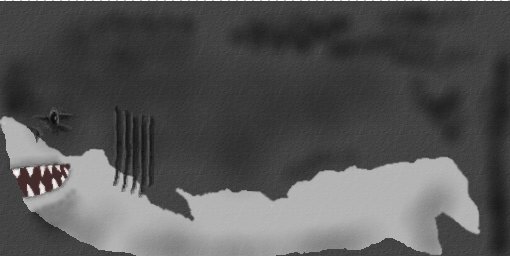
Since we already have a grey background texture, we can use it as the default color of shark skin. Our paint job will darken or brighten pixels on this background texture. Choose the Paint Brush tool and set opacity to 60, so we preserve part of the underlying background texture. Use a pure white color to draw the lateral border on the Painted layer. Continue to trace the bottom outline of the belly, and finish the belly by Flood Filling it with white at opacity of 60. Feel free to paint over the wire frame lines. In fact, you should overrun the outline a little bit. Toggle off the visibility of the stretched shark layer, so we can see the belly more clearly, without the shark layer affecting the color intensity of pixels. Also toggle off the mesh frame layer. Save the file as jpeg again, and reload it in gmax. Take a closer look at the shark surface. We notice that one polygon in the dorsal fin isn't receiving enough texture space, and the skin looks stretched.
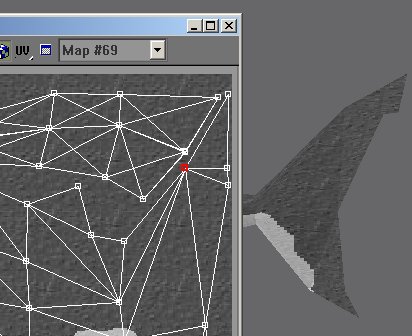
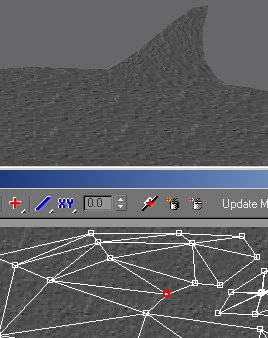
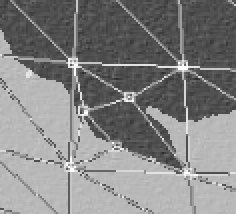
There are two ways we can fix this texture problem. We can paint the fins darker in a solid color, thus removing the bumpy texture. This makes it harder for users to distinguish between a stretched polygon and an adjacent compressed polygon. We can also re-adjust the UV map. I think we'll try the latter. We need to go back to gmax and move UV vertices around to make polygons in the two fins match their relative size as shown in the perspective viewport. Place the UVW Editor besides the fin in the viewport. As you move the UV vertex around, you will see the texture change in the viewport. Find the best placement for your vertices to produce the most uniform texture distribution. Also notice that the pectoral fin stands out sorely, because the border between it and the body is too sharp. Use Eraser in PSP to remove colors around the pectoral fin base.
We need to darken selected patches on the back of the shark to make it appear more lively. Select black as foreground and use the Paint Brush to paint. Then, use erase to softly erase selected spots in the belly, to effectively darken these spots (more background shows through)
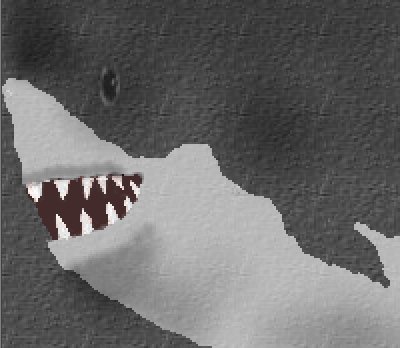
Create a new layer called Features and place it above the Painted later and the mesh frame layer. We will use this layer to paint the eye and the teeth. Remember that the texture is stretched vertically, so you need to paint the eye and two rows of teeth that look stretched.
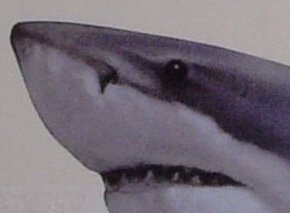
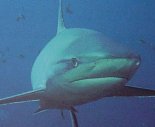
Create yet another layer called Raised Texture. You can use paint brush to darken and lighten pixels by applying the brush with small percentage of opacity (e.g. 15). You can use this layer to raise skin around the eye, without fear of drawing over the eye itself. Also retouch the lips. Use a real picture as a reference. I also used the Retouch tool to soften the border line between grey and white.
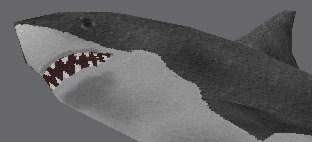
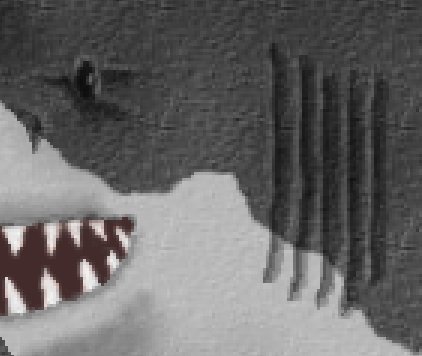
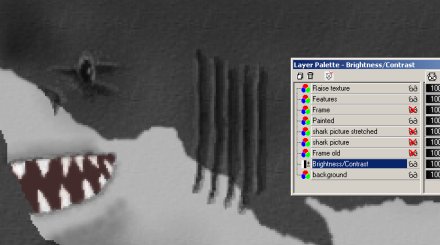
Paint the gills. Again, use white and black brush to create an illusion of multiple gill openings. Finally, create an Contrast/Brightness adjustment layer on top of the background layer. Lower contrast to reduce the bumpiness of skin. Lower brightness to maintain roughly the same level of brightness as before.
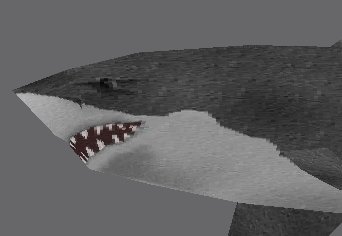
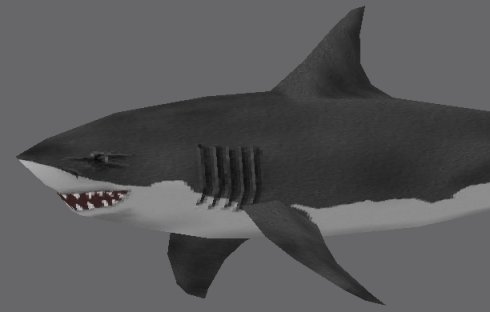
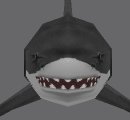
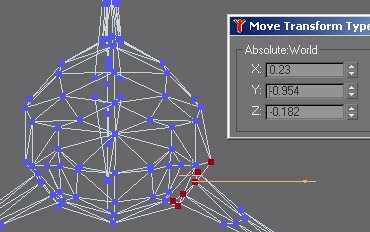
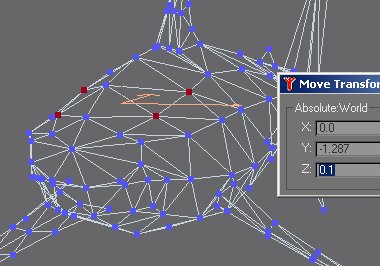
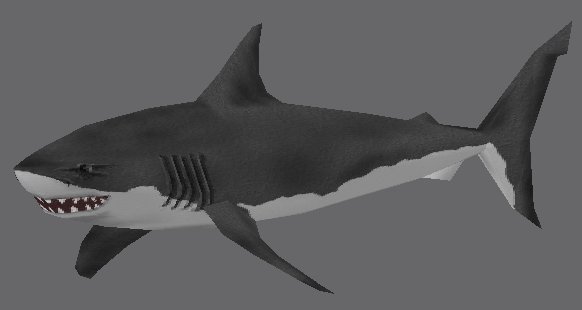
Now that we have painted the shark texture, we can rotate the model and examine the shark from different perspectives. Notice that the front view of the shark looks really ugly. It doesn't resemble a shark at all. I looks more like a dolphin. We need to adjust some vertices.
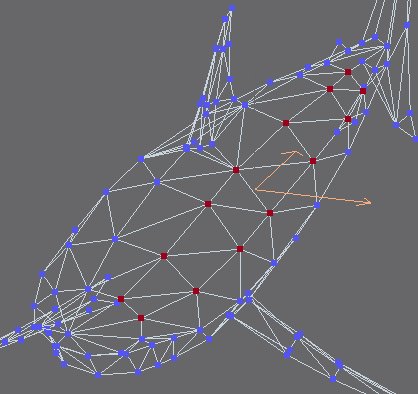
Select SubObject Vertices mode. gmax will warn you that you are performing a dangerous operation. This is fine. We are just adjusting vertices. We have previously adjusted border vertices as seen from the side view and the top view. Now is time to adjust other non-border vertices from the front view.
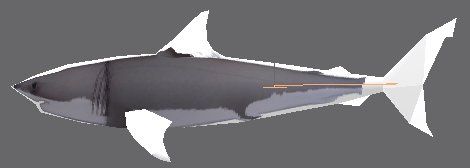
Here is the final texture map in PSP, the UVW unwrap map in gmax, and the final screenshot of the perspective viewport. Although we have not even started to construct the other two levels of detail, we can now export our scene with LOD0 to the There Previewer, so we can check the LOD0 vertex count (based on UW vertices, not XYZ vertices). We will also test our shark in-world.
|